
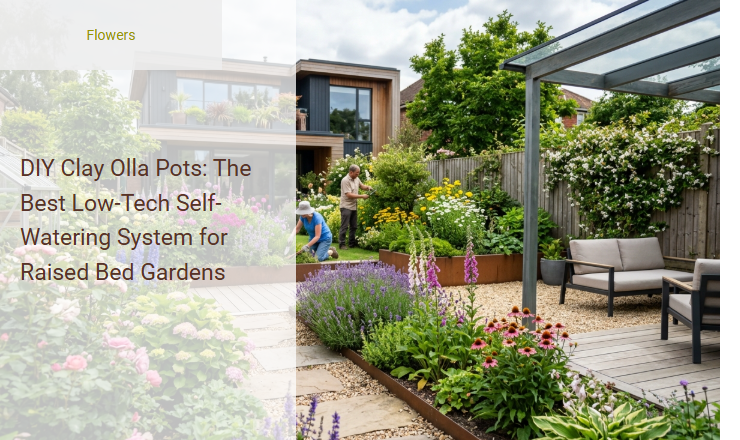
Keeping raised bed gardens consistently hydrated during scorching summer days can feel like a losing battle, often resulting in withered plants and soaring water bills. While modern drip systems offer a technical fix, they are frequently costly and prone to clogging, leaving gardeners searching for a more efficient, underground delivery method.
Enter the DIY clay olla pot-an ancient, low-tech irrigation marvel that delivers moisture directly to plant roots, reducing evaporation and cutting water waste by up to 70%. It is important to note that this system requires strictly unglazed terracotta to function correctly, making it exceptionally suited for thirsty, deep-rooted crops like tomatoes and squash.
In this guide, we will detail how to construct your own cost-effective ollas, properly install them in your raised beds, and maintain them for maximum seasonal efficiency.
Read also: Self-Watering vs Standard Planters for Busy Gardeners
Introduction to Olla Pots: Ancient Irrigation for Modern Gardens
An olla is an ancient clay vessel used for highly efficient subsurface irrigation. Originating thousands of years ago in dry regions of North Africa, China, and the American Southwest, this time-tested method is making a massive comeback today. Modern gardeners are discovering that these simple terracotta vessels provide an exceptionally reliable, low-tech, and self-regulating watering solution for raised bed systems.
By burying these unglazed clay vessels directly in the soil, you can create a localized watering system that feeds your plants exactly when and where they need it most. This ancient technique is the perfect choice for modern raised bed gardens because it bypasses the evaporation losses associated with surface watering, ensuring your soil stays consistently moist with minimal effort.
The Science Behind Clay Pot Irrigation
At the heart of olla irrigation is a natural physical process known as soil moisture tension. Unglazed terracotta is naturally porous, allowing water molecules to slowly pass through its clay walls. When the surrounding soil is dry, it exerts a pulling force that draws water out of the vessel. Conversely, when the soil is saturated from recent rainfall, the water movement slows down or stops entirely.
This creates a self-regulating loop where the soil itself controls the irrigation rate based on its immediate moisture needs. This ensures that plants never experience the stressful cycles of extreme dehydration or root-rotting oversaturation, as the clay walls maintain a perfectly balanced moisture gradient in the root zone.
Key Benefits of Using Ollas in Raised Beds
Integrating clay pot irrigation into your raised bed layout offers several game-changing benefits for both your crops and your daily gardening routine:
- Unmatched Water Conservation: Because water is delivered directly to the root zone underground, evaporation losses from wind and sun are virtually eliminated, saving up to 70% more water than overhead watering.
- Targeted Deep-Root Development: Plants are encouraged to grow deep, robust root networks wrapping around the buried clay pot, making them much more resilient to dry spells.
- Significant Weed Reduction: Keeping the top layer of your raised bed dry prevents weed seeds from germinating, drastically reducing your weeding chore list.
- Time-Saving Convenience: Instead of standing with a hose every day, you only need to fill your buried vessels once or twice a week, giving you more time to enjoy your garden.
Essential Materials for Your DIY Olla Pots
Building your own sub-surface irrigation system is an affordable and straightforward afternoon project. To construct a highly functional DIY olla, you will need to gather a few readily available items from your local garden center and hardware store.
- Unglazed terracotta pots (ideally two of the same size, such as 8-inch or 10-inch pots)
- 100% silicone sealant (waterproof and food-safe)
- Heavy-duty rubber washers or plastic plugs to seal the drainage hole
- A terracotta pot saucer to act as a protective lid for the top opening
Step-by-Step Guide to Building a DIY Olla
- Plug the bottom drainage hole: Take one of the terracotta pots and plug its bottom hole using a rubber washer, plastic plug, or a small piece of broken tile secured with a generous amount of waterproof silicone sealant.
- Apply sealant to the rims: Run a thick, continuous bead of 100% silicone sealant along the top rim of both unglazed clay pots.
- Join the pots rim-to-rim: Carefully press the two pots together rim-to-rim, aligning them as perfectly as possible to create a sealed, hollow chamber.
- Seal the outer seam: Smooth out any squeezed-out silicone along the joined seam with your finger to ensure an airtight, watertight bond.
- Allow to cure and leak-test: Let the silicone dry for at least 24 hours, then fill the completed vessel with water to check for leaks before burying it.
How to Correctly Install Ollas in Your Raised Bed
Proper installation ensures your plants receive uniform moisture and the vessel remains stable throughout the growing season.
- Dig a deep hole in the center of your raised bed, wide enough and deep enough to accommodate the joined clay pots.
- Gently place the vessel into the hole, leaving only the top one to two inches of the upper neck protruding above the soil line to prevent soil from washing inside.
- Backfill the hole with soil, pressing it firmly around the sides of the clay pot to establish good soil-to-clay contact without cracking the vessel.
- Fill the buried vessel with clean water and cover the top opening with a terracotta saucer to prevent debris, mosquitoes, and evaporation.
- Space multiple vessels approximately two to three feet apart to ensure overlapping moisture zones across a larger raised bed.
Selecting and Planting Around Your Olla Pot
Ideal Crop Selections
Plants with fibrous, expansive root systems perform exceptionally well with subsurface clay pot irrigation. Tomatoes, peppers, melons, squash, cucumbers, and leafy greens are particularly adept at seeking out and wrapping their roots around the buried vessel.
Optimal Planting Arrangement
To maximize watering efficiency, arrange your selected plants in a circle within the wetting radius of the vessel, which typically extends about 12 to 18 inches outward from the clay walls.
- Position heavy feeders like tomatoes directly next to the moisture zone.
- Sow companion herbs and small salad greens in the outer perimeter of the radius.
- Provide light surface watering for the first week to help new seedlings establish their roots before relying entirely on the buried vessel.
Essential Maintenance and Winterization Tips
Keeping your subsurface irrigation system running smoothly requires minimal but consistent care. Checking the water level inside your vessels every few days is crucial, especially during hot, dry summer stretches. You can easily do this by lifting the lid and peering inside. If the water level is dropping rapidly, verify that the lid is secure and that no soil has washed inside, as soil buildup can clog the porous clay pores and reduce water flow.
For gardeners living in colder regions, winterization is an absolute necessity to prevent damage. When temperatures drop below freezing, water trapped inside the porous clay walls expands, which will cause the terracotta to crack or shatter. Always dig up your clay vessels before the first hard freeze, clean off any clinging soil, dry them completely, and store them in a frost-free area like a basement or garage until spring.
Troubleshooting Common Olla Irrigation Issues
Addressing Rapid Water Loss
If you find your vessel emptying in a single day, you may have a cracked seal or a damaged clay wall. Inspect the seams closely or check if the plug at the bottom of the pot has come loose. You can reapply silicone sealant to fix minor leaks.
Resolving Slow Seepage and Root Clogging
Over time, fine plant roots may aggressively wrap around or even penetrate the porous clay, slowing water flow. Gently clearing away stubborn roots from the outer surface during the offseason, or scrubbing the inside with a mild vinegar solution, will open up clogged pores and restore normal water seepage.
Embrace Sustainable Gardening with DIY Ollas
Adopting subsurface clay pot irrigation is one of the most practical steps you can take to foster an eco-friendly, productive backyard oasis. By reducing water consumption, minimizing weed growth, and saving hours of manual labor, this ancient system transforms the way we nourish our plants. Building and installing your own clay vessels empowers you to work in harmony with natural soil dynamics, paving the way for a highly successful, sustainable raised bed gardening experience.
Summary
"DIY Clay Olla Pots: The Best Low-Tech Self-Watering System for Raised Bed Gardens" introduces an ancient, highly efficient irrigation method tailored for modern home gardeners. Ollas are unglazed terracotta vessels buried in the soil and filled with water, which slowly seeps through the porous clay directly to surrounding plant roots. This localized, underground watering system drastically reduces evaporation and water waste compared to traditional surface watering.
The guide explains how gardeners can easily construct their own affordable ollas using inexpensive terracotta pots, waterproof sealant, and a cork. By burying these DIY vessels in raised beds, gardeners can establish a self-regulating irrigation system that promotes deep root growth, prevents surface-level weeds, and keeps plants consistently hydrated. This low-tech, sustainable solution is perfect for conserving water while maintaining thriving, low-maintenance garden beds.
Leave a comment