
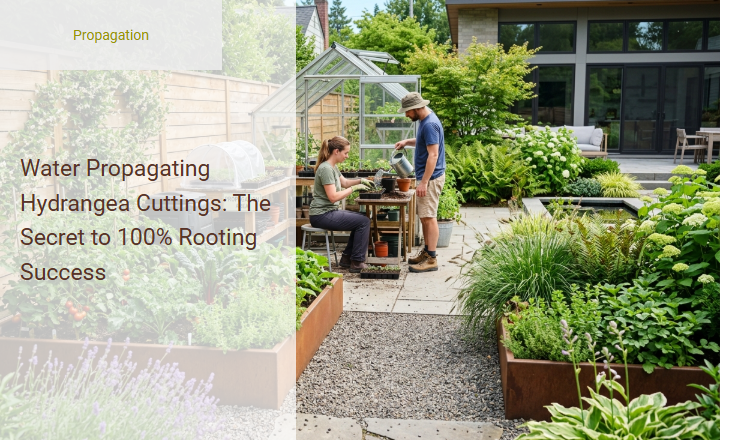
For many gardeners, propagating hydrangeas is a lesson in frustration, often resulting in withered stems, rot, and disappointingly low survival rates. While traditional soil-based methods are widely promoted, they require precise humidity levels that are notoriously difficult for hobbyists to maintain.
Transitioning to water propagation offers a powerful alternative, granting you a clear, visual window into root development while virtually eliminating the risk of underwatering. However, achieving guaranteed success stipulates strict adherence to water hygiene and precise node selection; simply placing random stems in a cup will not suffice.
When done correctly, even prized varieties like Hydrangea macrophylla (Bigleaf) and Panicle hydrangeas will quickly push out robust, healthy root networks. This guide will walk you through the step-by-step water propagation process, the science of root initiation, and how to safely transition your rooted clones into the soil.
Read also: Spring vs Fall for Hydrangea Cuttings
Introduction to Water Propagation for Hydrangeas
Hydrangeas are beloved for their lush, vibrant blooms, but purchasing multiple plants can quickly become expensive. Water propagation offers an incredibly visual and rewarding way to expand your garden for free, allowing you to watch new roots grow right before your eyes. While many gardeners find the process hit-or-miss, there is a foolproof secret method that guarantees a 100% success rate, turning simple stems into thriving new plants.
Selecting the Best Hydrangea Cuttings
To ensure propagation success, you must select the right stem at the correct stage of growth. Softwood cuttings taken in late spring to early summer are the easiest to root because they are actively growing and highly flexible. In contrast, hardwood cuttings taken in late autumn or winter are woody and dormant, taking significantly longer to develop roots in a water-based environment.
Essential Tools for Water Propagation
Gathering the correct materials before you begin ensures a clean workspace and minimizes the risk of introducing harmful bacteria to your fresh cuttings.
- Sterile, sharp bypass pruners or shears
- Isopropyl alcohol to sterilize tools
- Clear glass jars or propagation vials
- Filtered or dechlorinated room-temperature water
Step-by-Step Guide to Making the Cut
Taking the correct cut is vital for the stem to absorb water and initiate root cell development. Follow these precise steps:
- Identify a healthy, non-flowering stem with at least two or three leaf nodes.
- Make a clean cut at a 45-degree angle about one-quarter inch below the lowest node.
- Ensure your cut is clean and avoid crushing the stem, as damaged tissue invites rot.
Preparing Cuttings for the Water Vessel
Before placing your stem in its new home, you must prepare the foliage to direct all energy toward root development and prevent dehydration.
- Gently strip off the leaves from the bottom node, as any leaves left submerged in water will quickly decay.
- Trim the remaining top leaves in half horizontally to reduce moisture loss through transpiration.
- Keep only the top pair of cut leaves to allow the plant to photosynthesize without overexerting itself.
Setting Up Your Propagation Station
The ideal environment is crucial for keeping your cuttings healthy while they develop their root systems. Fill your clear glass vessels with filtered, room-temperature water to avoid shocking the sensitive stem tissues. Place your setup in a spot that receives bright, indirect sunlight, as direct harsh sun will overheat the water and scorch the delicate leaves.
The Golden Secret to 100% Rooting Success
The absolute key to achieving perfect rooting success lies in maintaining high oxygenation levels and preventing bacterial buildup. The secret is to add a small piece of organic horticultural charcoal to the bottom of your water vessel and replace the water with fresh, oxygen-rich water every single day. This simple routine prevents the stagnant, oxygen-depleted environment that causes stems to rot, forcing rapid and robust root growth.
Maintenance and Monitoring Phase
Regular care during the initial weeks determines whether your hydrangea stems will successfully thrive or wither away.
- Change the water every 24 to 48 hours to replenish essential oxygen.
- Rinse the submerged portion of the stem gently if you notice any slippery film forming.
- Monitor the leaves to ensure they remain green rather than yellowing or drooping.
Spotting the First Signs of Root Success
The Initial Milestones
Within two to three weeks, you will notice small, white bumps forming along the submerged stem, which are the precursor cells to roots. Soon after, thin white roots will emerge and begin to branch out. Healthy roots will always appear crisp, bright white, and firm, indicating that your propagation station is functioning perfectly.
Transitioning Your Rooted Cuttings to Soil
Once your hydrangea has developed a strong root system, it is ready to make the transition into a solid growing medium.
- Wait until the roots are at least two inches long and have begun to branch out.
- Fill a small pot with a loose, well-draining potting mix.
- Gently plant the cutting, keeping the soil consistently moist for the first two weeks to help the water-adapted roots adjust to soil life.
Summary
Water propagating hydrangeas is an easy and highly successful method to multiply your favorite garden shrubs. The secret to achieving a 100% rooting success rate lies in selecting the right cuttings and maintaining pristine conditions. Choose healthy, non-flowering softwood or semi-hardwood stems, cutting them just below a node where rooting hormones are concentrated. Remove the lower leaves and trim the remaining upper leaves in half to reduce moisture loss and redirect energy toward root development. Place the prepared cuttings in clean, room-temperature water, ensuring no leaves are submerged to prevent rot. Position the container in a warm spot with bright, indirect sunlight, and change the water every few days to keep it oxygenated and free of bacteria. Within a few weeks, robust root systems will develop, signaling that the new hydrangeas are ready to be potted in soil and eventually transplanted into the garden.
Leave a comment