
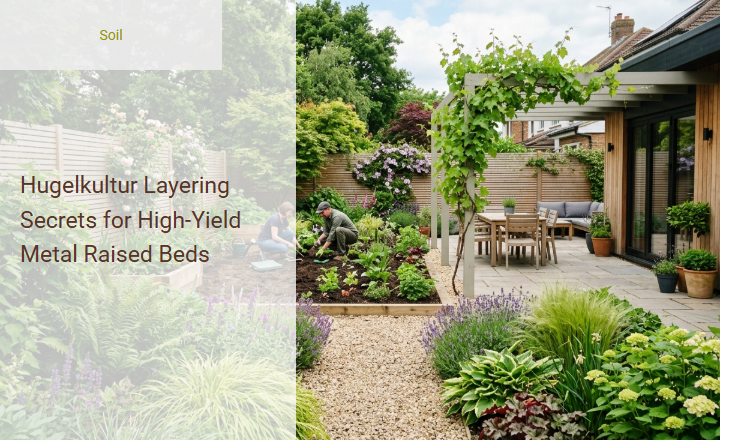
Filling deep metal raised beds with premium bagged soil can be incredibly expensive, yet settling for poor-quality dirt inevitably leads to compacted roots and disappointing, low-yield harvests. While these sleek steel structures are the modern gold standard for backyard aesthetics, their sheer depth presents a frustrating volumetric challenge for home gardeners trying to optimize soil health.
The solution lies in adapting the centuries-old German practice of hugelkultur, a method that grants gardeners a self-watering, nutrient-rich ecosystem capable of sustaining abundant crops for years. However, achieving these results stipulates a precise structural balance; haphazardly tossing yard debris into a frame will only lead to soil subsidence and anaerobic rot.
By strategically layering dense hardwood logs, moisture-retaining dry leaves, and nitrogen-rich green compost, you create a thriving subterranean sponge. In this guide, we will break down the exact layering ratios, wood selection secrets, and structural steps required to transform your metal raised beds into high-yield growing powerhouses.
Read also: Topsoil vs Potting Mix for Raised Beds
Introduction to Hugelkultur in Metal Raised Beds
Adapting the centuries-old German gardening practice of Hugelkultur to modern metal raised beds creates a highly efficient, self-sustaining ecosystem right in your backyard. By layering organic materials inside a durable metal frame, you replicate the natural decomposition process of a forest floor. This synergistic method delivers exceptional self-watering capabilities, as the decaying wood at the base acts as an underground reservoir. Over time, this process generates incredibly rich, nutrient-dense soil that fuels robust plant growth, resulting in high-yield harvests with significantly less irrigation and maintenance than traditional gardening methods.
Preparing Your Metal Bed for Hugelkultur
Before building your organic layers, you must properly assemble and secure the site to ensure the longevity of your garden bed. Preparing the footprint correctly prevents unwanted weeds and burrowing pests from disrupting your ecological system.
- Clear the designated area of turf, rocks, and aggressive weed roots, leveling the ground as much as possible.
- Assemble your metal raised bed according to the manufacturer instructions, ensuring all safety edging and bracing are secure.
- Lay down a heavy-duty layer of cardboard or thick newspaper over the bare soil to smother existing grass and weeds.
- Place a layer of hardware cloth or gopher wire over the cardboard, securing it to the inner base of the metal frame to block burrowing rodents.
The Foundation: Thick Logs and Heavy Wood
The core of any successful Hugelkultur system lies at the very bottom. Here, you must place the largest, heaviest pieces of wood you can find to establish a long-term moisture reservoir.
"Hardwood logs act as massive underground sponges, absorbing excess rainfall and slowly releasing moisture back to plant roots during dry spells as they decay over several decades."
When laying down this foundational layer, use thick hardwood logs such as oak, maple, or birch. Pack them tightly together at the bottom of the metal bed. Avoid using rot-resistant woods like cedar, redwood, or black walnut, as they contain natural compounds that inhibit plant growth and delay the decomposition process necessary to feed your soil food web.
The Transition Layer: Branches, Twigs, and Wood Chips
Once your heavy logs are securely in place, you will notice large, empty pockets of air between them. The transition layer bridges this gap, establishing structural integrity and preventing the upper soil layers from collapsing into the bottom.
To build a stable and well-aerated framework, follow this progression of materials:
- Pack medium-sized branches and fallen limbs directly over and into the spaces between the large logs.
- Scatter smaller twigs and brush to further fill the remaining voids.
- Pour a generous layer of wood chips or coarse bark over the entire wood structure.
- Water this layer thoroughly to settle the materials and initiate the microbial decomposition process.
The Nitrogen Boost: Fresh Green Waste and Grass Clippings
To kickstart the breakdown of the carbon-heavy wood beneath, you must introduce a concentrated layer of nitrogen-rich materials. This layer acts as the fuel for beneficial microbes, generating the heat and biological activity required to transform raw organic matter into fertile compost.
Spread a thick layer of fresh green waste, such as untreated grass clippings, kitchen scraps, coffee grounds, and fresh green leaves directly over the branch layer. As these materials decompose rapidly, they release vital nutrients that migrate downward, feeding the busy soil microbial community. This active fermentation process ensures that the wood layers begin to rot, priming the bed for future root systems to tap into a continuous loop of organic nutrition.
The Carbon Buffer: Straw, Dry Leaves, and Paper
To prevent the nitrogen-rich green layer from smelling or decomposing too rapidly, a carbon-rich buffer is required. This dry "brown" layer balances the carbon-to-nitrogen ratio, absorbing odors and maintaining structural aeration throughout the middle of your metal bed.
- Spread a generous layer of dry autumn leaves, clean straw, or shredded brown cardboard over the green layer.
- Ensure this layer is free of weed seeds or synthetic chemical residues.
- Lightly water the carbon layer to ensure it remains damp and integrated with the materials below.
The Growing Zone: Compost and Topsoil
This is the final frontier of your metal Hugelkultur bed, where your plants will establish their initial root systems before reaching the decomposing layers below.
Choosing Your Planting Medium
The top layer must consist of a high-quality, biologically active growing medium. A blend of finished organic compost, aged manure, and high-grade sandy loam topsoil provides the perfect balance of drainage, aeration, and immediate nutrient availability.
For optimal plant health and root development, this growing zone should be at least 6 to 8 inches deep. This depth ensures that young transplants and delicate seedlings have ample room to develop strong, healthy root networks before they begin utilizing the moisture and nutrients locked within the decomposing wood below.
Regulating Temperature in Metal Hugelkultur Beds
A common concern with metal raised beds is that they might overheat during the peak of summer. However, the internal thermodynamics of a Hugelkultur system naturally mitigate this issue, creating a highly stable microclimate for your plants.
As the organic layers within the bed slowly decompose, they generate mild, consistent internal warmth. The metal outer walls conduct external ambient heat, which is rapidly absorbed and buffered by the massive, moisture-rich wood sponge at the base. In cold weather, this internal decomposition keeps the soil warmer than the surrounding ground, extending your growing season both early in the spring and late into the autumn.
Planting Strategies for Maximum Yield
While almost any plant can thrive in a mature Hugelkultur bed, strategic planting during the first year maximizes your yields while the lower layers settle and decompose.
The table below outlines which crop categories perform best in a newly established metal Hugelkultur system, helping you plan your garden layout effectively.
| Crop Category | Ideal Plant Examples | Why They Thrive |
|---|---|---|
| Heavy Feeders | Tomatoes, Melons, Squash, Peppers | Thrive on the rich nitrogen and heat released by the decomposing green layers. |
| Deep-Rooted Vegetables | Carrots, Daikon Radish, Parsnips | Penetrate down to loosen the settling transition layers, creating natural air channels. |
| Shallow-Rooted Herbs | Basil, Parsley, Cilantro | Utilize the highly fertile topsoil zone without needing deep moisture reservoirs initially. |
Long-Term Maintenance and Bed Settling
During the first two years, you will notice the soil level in your metal raised bed dropping. This is a completely natural and expected part of the Hugelkultur process, as the logs, branches, and green waste decompose and compress.
To maintain high yields and keep your bed performing at its peak, simply top off the bed each spring with a fresh 2-to-3-inch layer of finished compost and organic topsoil. Never till or deeply dig into your Hugelkultur bed, as this disrupts the delicate fungal networks (mycorrhizae) and soil stratification that make this system so successful. Instead, allow earthworms and rain to naturally pull the new nutrients down into the sponge, ensuring a continuous cycle of fertility for years to come.
Summary
This article explores the transformative technique of adapting hugelkultur-the traditional German method of mound gardening-for modern metal raised beds. By strategically layering organic materials, gardeners can create a self-sustaining, nutrient-rich ecosystem that promotes high-yield crops.
The layering process begins with a foundation of heavy logs and rotting wood at the bottom of the bed to retain moisture and foster beneficial fungi. This is topped with smaller branches, nitrogen-rich green waste, leaves, and compost, finished with high-quality topsoil. As these materials slowly decompose, they generate gentle heat to extend the growing season, improve soil aeration, and significantly reduce the need for supplemental watering and expensive soil fillers. Ultimately, combining hugelkultur with metal raised beds offers a cost-effective, durable, and highly productive gardening solution.
Leave a comment